Over years of collecting seeds and gathering information from others. I have improved seed-saving techniques to pass along to you that will save you time and improve your germination rate.
The methods I will be sharing are proven and I have had nearly 100% germination with the seeds I have saved.
It all starts with selecting a ripe open-pollinating variety of tomato. The tomatoes I pick for saving the seeds are completely vine-ripened and can even be a little on the over-ripe side.
Tools you will need for Tomato Seed-Saving
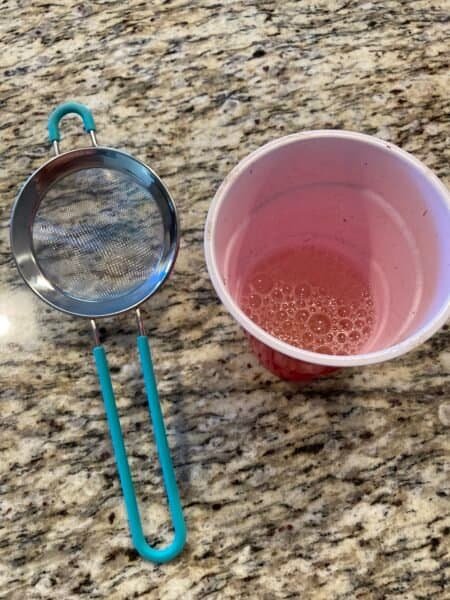
I use a red solo cup
spoon
wax paper
seed saving packet or paper envelope
knife for slicing
knife or blade for seed-separating
Fine mesh strainer
masking tape or blue painters tape
Improved Seed-Saving Techniques
Slice the bottom or top of the tomato off exposing the flesh and seed of the tomato.
Squeeze or remove seeds with a spoon and place in a cup of water, make sure you label the cup with the variety of tomato on tape
Place the cup with seeds indoors where it is not in direct sunlight for 5-7 days allowing them to ferment
After 5-7 days drain off the water with the pulp and any seeds floating (these seeds are not viable)
Add more water and carefully drain off more of the pulp allowing the good seeds to sink to the bottom of the cup.
Once the water is clear you can pour the seeds and water into a fine mesh strainer.

Now it is time to place the seeds onto the wax paper (remove the tape you labeled and place it on the wax paper so that you remember the variety).
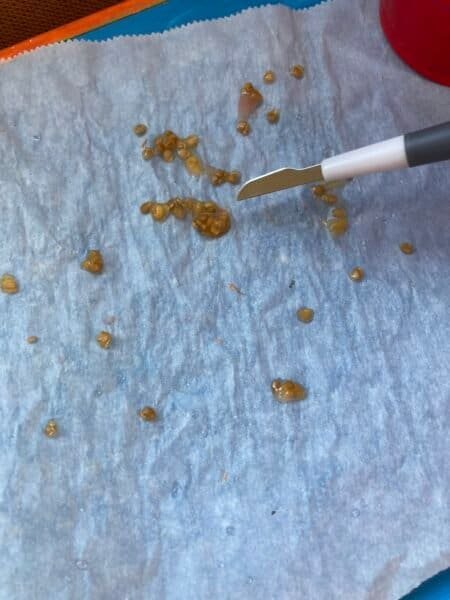
Allow seeds to dry for 3-7 days
Place the seeds in a paper seed packet or envelope that has been labeled with variety, date harvested. and any notes about the tomato.
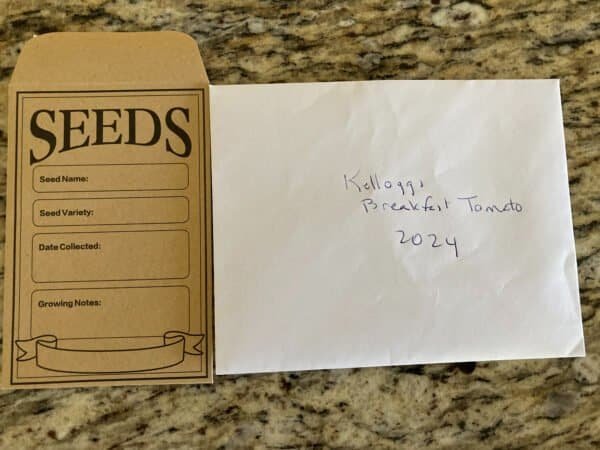
I usually leave the envelope open for a few more days to make sure all moisture has been wicked away before I finally put them away for storage until the next planting season.
By following these improved seed-saving techniques you will be successful in saving your tomato seeds and in getting great germination rates when you plant next season.

