Peppers are a great vegetable to grow in your home garden, not only are they nutritious being loaded with vitamins A and C they are versatile to use in many ways in your kitchen.
It is important to know how to grow the best peppers to get a large crop that tastes great. In this post we will go into detail so that you can be successful in growing peppers.
There are many varieties and flavors from sweet to spicy and hot, see my list of top peppers to grow. I will share the best peppers that I am growing this year.
Peppers come in a wide variety of colors, red, green, yellow, orange, purple and now there is even a bell pepper that is stripped yellow, red, and orange.
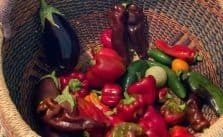
This year I am testing many new varieties of peppers in my garden and I will provide details as I grow and harvest them throughout the year.
Seed Starting
This process can be a little more difficult than starting other vegetables, but do not let this stop you from growing peppers from seed.
To germinate the seeds I recommend you take a paper towel and fold it in half after getting it wet. Lay seeds on a damp paper towel and fold again so that the damp towel covers the seeds on the top and bottom. Place in Ziploc bag to seal them, and place bag on a heating pad.
Check seeds every few days to see when they have sprouted, once they have sprouted remove the seeds to plant 1/4 inch deep in the seed starting mix that has been moistened.
To eliminate any possible contamination of the seed starting mix you can boil water to add to the mix to eliminate any bugs.
The key from this point forward is to keep the seeds warm and moist do not let them dry out.
Seedlings
Once the seeds have sprouted and started to appear keep them warm and with grow lights for 16-18 hours per day, as the plants grow continue to move the lights up to keep them 2-3 inches above the plants.
It is good to use a dome on the plants when they first sprout to keep them in a humid condition, as they grow and have true leaves you can remove the dome.
If you do not have a warm area for your seeds to grow you should use a heat mat to keep the seedling’s ground warm, be sure when using a heat mat that your seedlings do not dry out keep them watered daily.
Provide a liquid fertilizer after 2 weeks of growth such as fish emulsion.
Once they reach a few inches tall you can transplant them into a larger container to continue to grow in your greenhouse or protected area.
After they are about 4 inches tall it is time to harden the peppers off before planting them in your garden.
How to Grow the Best Peppers
Planting Peppers
The first thing to do is find the correct location in your garden. Peppers prefer morning and early afternoon sun for best production and do not like the late afternoon sun. One solution is to plant taller plants on the west side of the plant to shade them from the late hot sun.
Peppers are susceptible to sunscald if too much late afternoon sun hits the plant.
When preparing the hole for the peppers, do not plant them deeper than what they are currently, they are not like tomatoes that enjoy being planted deeper.
Once the hole is ready add water to the hole to muck them in to help in transitioning the seedlings, next add a handful of Rock Phosphate to the hole to place the plant directly on before covering.
Rock Phosphate is used to provide a boost to the roots to grow and establish the plant. They do not need to have a fertilizer that is high in Nitrogen which will promote lots of leaves.
To support your pepper plants from breaking from the wind while they are growing you might want to stake them when planting so that you do not damage the roots of the pepper.
Last, add water to set the plant in the ground.
Locating your peppers in the Garden
It is important to plant your peppers where they will get direct sun for 6-8 hours and are shaded from the late afternoon direct sun that can burn the pepper plants and the fruit can get sun scalded. One way to do this is plant tomatoes or other taller plants on the west side of your peppers to shade them.
Pepper Plant Care
Usually, I have not trimmed my pepper plants, this year I will be testing a new method with some of my peppers by topping the main stem once there are 8-10 leaf stems on the plant. This is supposed to enhance a bushy plant that has strong stems and more peppers. It also is supposed to shade the fruit and keep peppers from getting sunscald.
After testing this I have found it to be a great way to get a stronger plant that can support the growth of more peppers I will be implementing this technique from now on and highly recommend you do the same.
Watering
Peppers enjoy well-draining soil receiving 1 inch of water per week on a consistent basis. Peppers are susceptible to blossom end rot if you water too much or inconsistently so best to water twice per week deeply and in the morning.
Mulching Peppers
It is critical to mulch the pepper plants to allow the roots to receive the water you apply to them and not have it evaporate and it keeps the roots cool on those hot afternoons in late summer.
Fertilizing
Planting with Rock Phosphate is best to provide the roots with what they need to establish a strong plant and great fruit production, they do not need a high nitrogen fertilizer when first planting peppers.
After planting you can fertilize the plants by side-dressing them every 2 weeks with a fertilizer that is balanced with lower nitrogen and equal but higher phosphate and potassium such as 5-10-10.
By adding calcium into your fertilizing routine it will help to produce a thicker-walled pepper.
Harvesting
Peppers are best harvested by supporting the pepper and either snapping it off supporting both the pepper and the plant, or cutting it off to prevent damage to the plant. Harvesting is best done in the morning when it is cooler.
Once harvested it is best to use the pepper when it is fresh, crunchy, and full of flavor. You can store peppers for several days if you have several ripe at the same time.
Best Pepper Plants
This year I planted a lot more peppers after a trip to a local gardening store where they were severely discounting their vegetable plants and I could not pass up buying them where I could buy 19 for the price of 2-3 plants at 56 cents each.
Some of these I had started from seeds before buying others at a local gardening shop.
Tam Jalapeno Not so sure about this pepper since it produced so few peppers, the flavor was hot like most jalapeno’s. Will grow again to make the final decision.
Green Bell This was a favorite producing a good crop of large thick skinned peppers that had that great pepper flavor.
California Wonder
Jalapeno This was a favorite providing a good crop of peppers that had the right amount of heat for making salsa
Pablano My seeds did not germinate so I will need to get new plants or seeds to try again.
Purple Beauty This was a favorite producing a large thick-skinned, and large Bell Pepper that was loaded with flavor and had several peppers on each plant.
Red Beauty This was a favorite producing a large red pepper with thick skin and was loaded with peppers producing 6-10 peppers per plant. The flavor was sweet and added great color to the garden.
Gypsy Sweet This pepper is a favorite for larger oblong pepper that is full of color and flavor
Padron This was a favorite even though the plant did not produce a large number of peppers the flavor was mildly hot and was great to add a little spice to dishes like salsa for the people that don’t like it too hot.
Italian Pepperoncini This is a favorite for it volume of peppers it produced, each plant was loaded with 20+ peppers per plant and the flavor was slightly spicey without being hot.
Red, Orange, and Brown Sweet Marconi
Sweet Yellow Banana This is a favorite producing a good number of peppers on each plant, producing a larger oblong-shaped pepper that is sweet and has great yellow to orange color.
Mini Sweet Orange Peppers This was my gold star winner for flavor, producing a very sweet pepper that had thick walls. The only thing I wish it had was more peppers to eat and enjoy. I will definitely plant more next year.
New Peppers to Grow
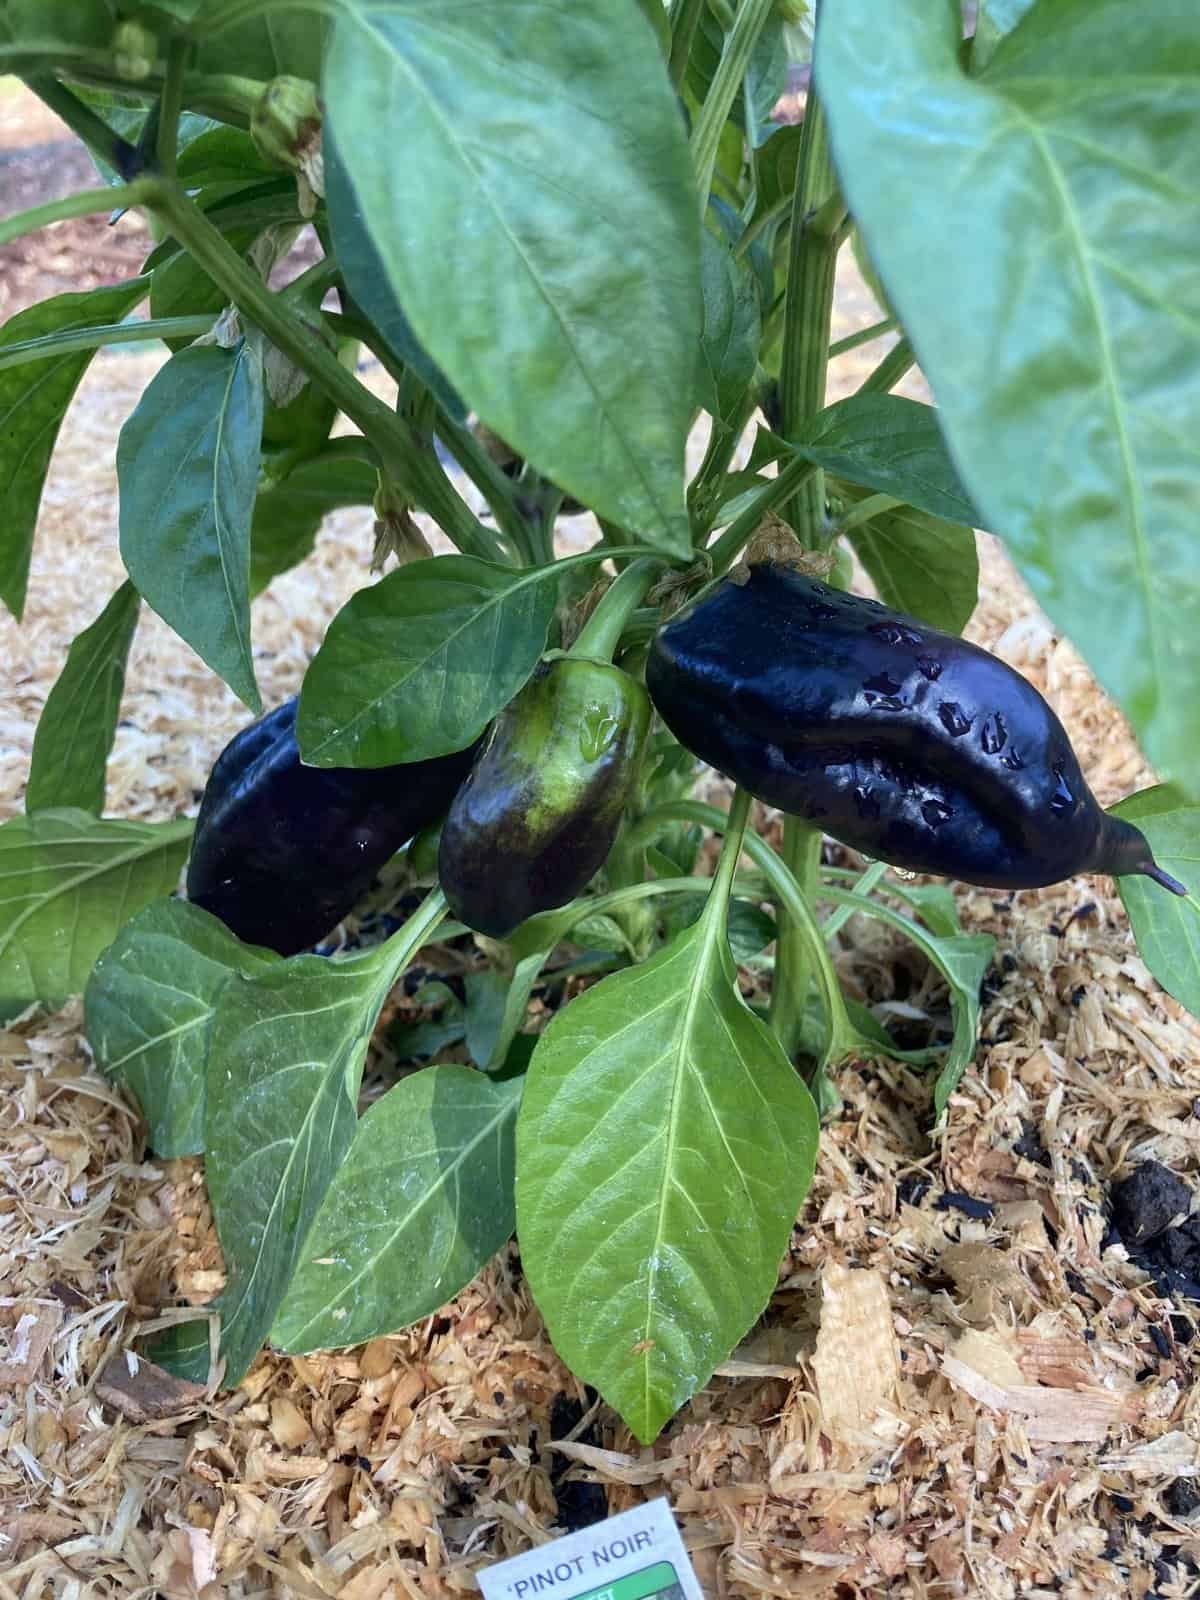
I am testing this pepper that I have not grown before, Pinot Noir it has great color and so far is producing peppers early when others have struggled in a season that has been cooler at night than usual dipping into the low 40s for several weeks.
Overall I am very happy with most of my peppers adding great color to the garden and great flavor for eating fresh and cooking.
I am going to overwinter my favorite peppers since they are perennial and I will have an article describing how to accomplish this since it is the first time I have attempted to do this. This technique did not work, none of my plants survived and I do not recommend it, if you have had success with overwintering your peppers please let me know.
See my seed company recommended list to purchase your seeds and plants.
Happy Pepper growing from the Urban Gardener.

